You are here: SwitchKit® Development Environment - CSA User’s Guide > 4 Configuring Signaling Cards > Configuring SS7 ISUP/TUP Message Formats
Configuring SS7 ISUP/TUP Message Formats

This procedure describes configuring SS7 message formats for ISUP and TUP.
Before you begin
You need to configure the SS7 card before you are able to configure SS7 message formats, please refer to the procedure Configuring the SS7 Card for instructions. You must have a node view window open in configuration mode.
Important! When using SS7 PQ cards in either a single node or a multi-node system you may configure a total of 3000 physical and virtual CICs, if both ISUP and SCCP/TCAP are to be configured for this system.
Information Source
Please refer to the SS7 information contained in the SwitchKit user’s guides and the Developer’s Guide: CCS.
Configuring SS7 Message Formats
You can configure your SS7 card with one these message formats:
• SS7 ISUP
• SS7 TUP
Do the following to enter the message format configuration dialog box:
1 Double-click on the SS7 card in the node view to open the Viewing SS7... Card in Slot... dialog box.
2 Right-click on the line with the Stack ID/OPC information to open a pop-up menu.
3 Select one of the following options in the pop-up menu:
– SS7 ISUP Message Format Configuration
– SS7 TUP Message Format Configuration.
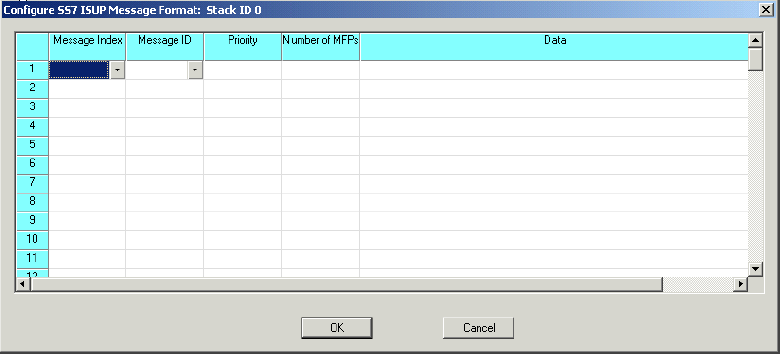
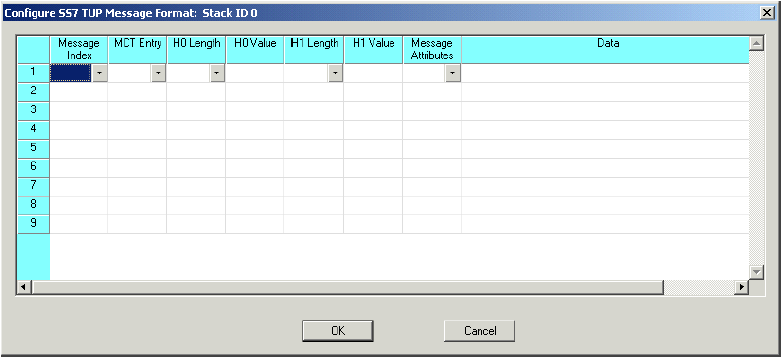
4 An SS7 configuration dialog box opens. The window title bar reflects the format you are configuring. Refer to the screen shots in the next sections.

1. Select the Message Index and Message ID from the drop-down lists in the table cells.
2. Enter the Priority value.
3. Enter the Number of MFPs.
4. Enter the Data. The data must be entered in hexadecimal with spaces, for example, 00 23 10 2a.
5. Click OK to close the dialog box.

1. Select the Message Index, MCT Entry, H0 Length, H1 Length, and Message Attributes from the drop-down lists in the table cells.
2. Enter the H0 and H1 Values.
3. Enter the Data.The data must be entered in hexadecimal with spaces, for example, 00 23 10 2a.
4. Click OK to close the dialog box.

Note
Configuration changes are not sent to the CSP until you select the menu: Configure® Configure Through SwitchMgr® Send Only Modified Configuration to Switch.