You are here: SwitchKit® Development Environment - CSA User’s Guide > 3 Configuring Line Cards, Spans, and Channels > Using the Route Control Tool

This procedure describes how to use the route control tool.
Before you begin
To use the route control tool you must be in configuration mode with an open global view window. Before you enter the route control tool, you must have the completed the channel group configuration. See Configuring Channel Groups.
Router Configuration Tool
Follow the steps below to use the route control tool.
1 Invoke the Configure Channel Group dialog box, by doing one of the following:
• Right-click on the Configuration icon and select Channel Group Configuration from the menu.
• Select the Configuration icon. Go to the Configuration menu and select System®Channel Group Configuration.
• Click on the Configuration icon. Select the Configuration menu, Node Configuration®Channel Group Configuration.
• Right-click on the blue part of the node view, select Channel Group Configuration.
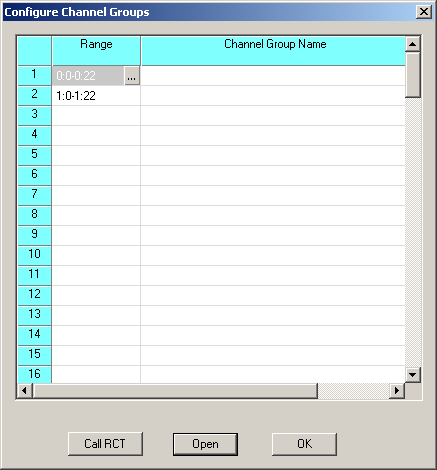
The Configure Channel Groups dialog box opens. See the next screen shot.

2 Click Call RCT. See the next screen shot.
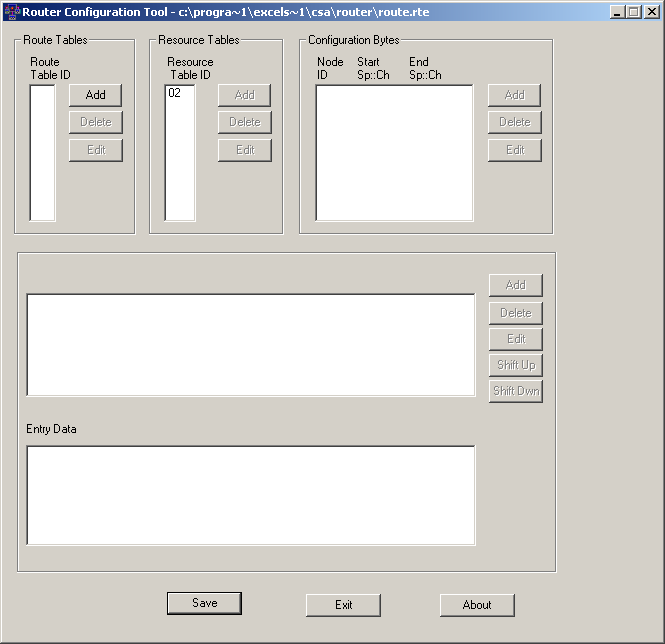
3 Under Route Tables, click Add. The Route Table dialog box opens.
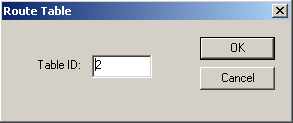
4 Enter a Table ID and click OK.
5 Under Route Table Entries, click Add. The Route Entry Editor dialog box opens.
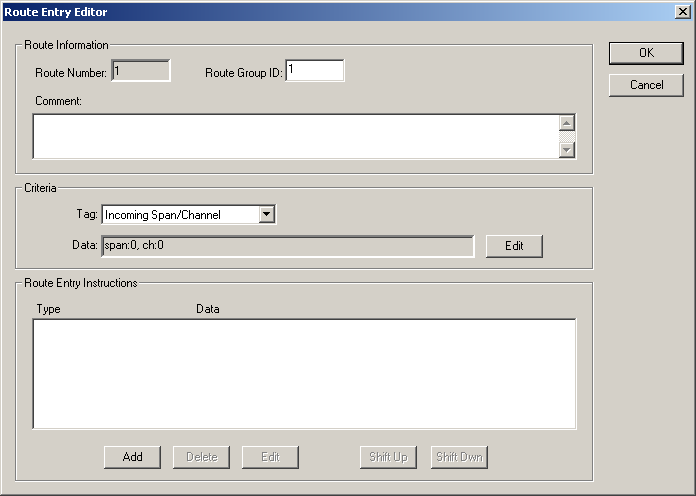
6 Enter a Comment, if you wish.
7 Select a Tag from the drop-down list if you want to change the default setting.
8 For Data, click Edit and enter the values to be used for Tag you selected and then click OK.
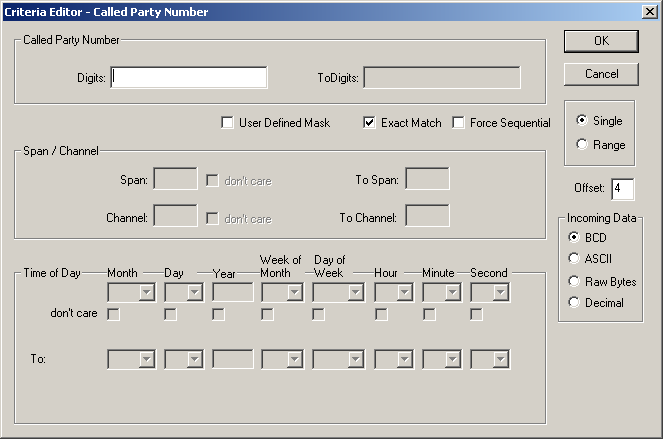
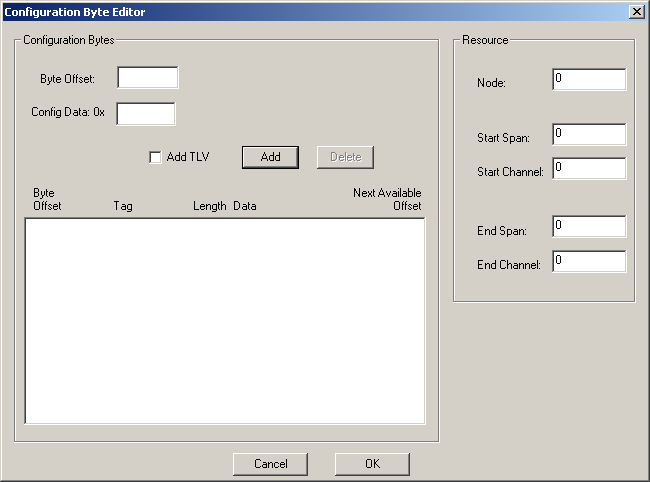
9 Click Add, to enter Route Entry Instructions. The Route Entry Instruction Editor dialog box opens.

10 Select the Tag from the drop-down list.
11 Select the Address Element Block from the drop-down list and then click OK.
12 In the Router Configuration Tool dialog box, place your cursor in the white space under Resource Table ID. Click Add. The Resource Table dialog box opens.
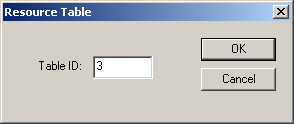
13 Enter a Table ID and click OK.
14 For each Table ID entered, click Add in the Resource Table Entries group box. The Resource Entry Editor opens.
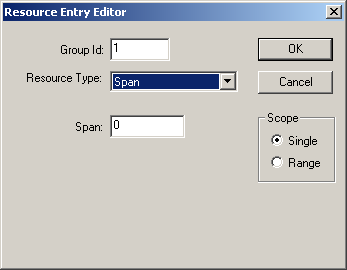
15 Enter the Group ID.
16 Select the Resource Type from the drop-down list.
17 Enter the Span.
18 Select the Scope and click OK.
19 In the Router Configuration Tool dialog box, place your cursor in the white space in the Configuration Bytes group box. and click Add. The Configuration Byte Editor dialog box opens.
