You are here: SwitchKit® Development Environment - CSA User’s Guide > 7 System Provisioning and Monitoring > DSP Card Views

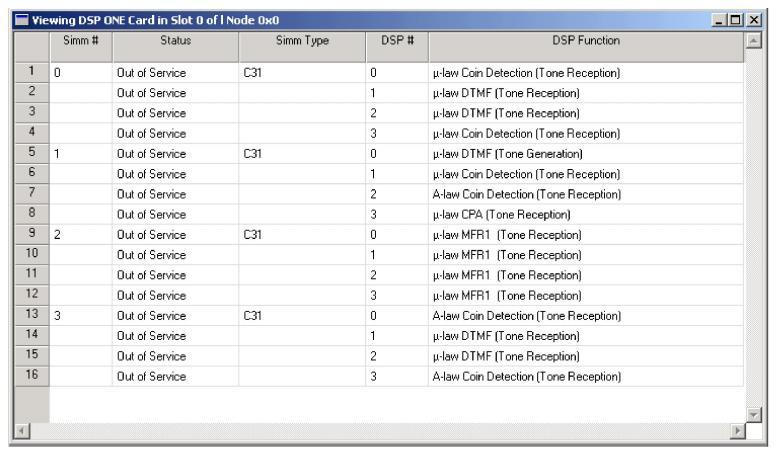
Double-click the DSP Card in the monitoring mode node view to open this card’s view.
In the DSP card view you see the configured SIMM numbers, Status, SIMM Type, DSP number, and DSP Function.
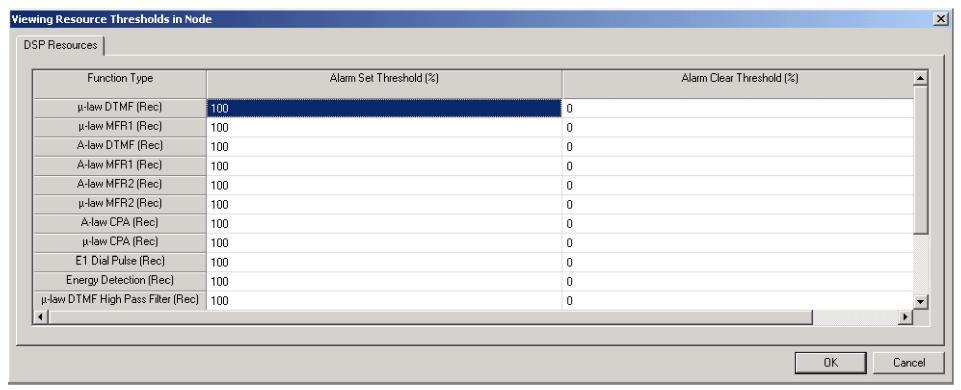
Viewing Resource Thresholds on DSP card
To view the resource thresholds on a DSP card, do the following:
Go to the menu, select Monitor®Resource Thresholds. The Viewing Resources Thresholds on Node window opens. See the next screen shot.
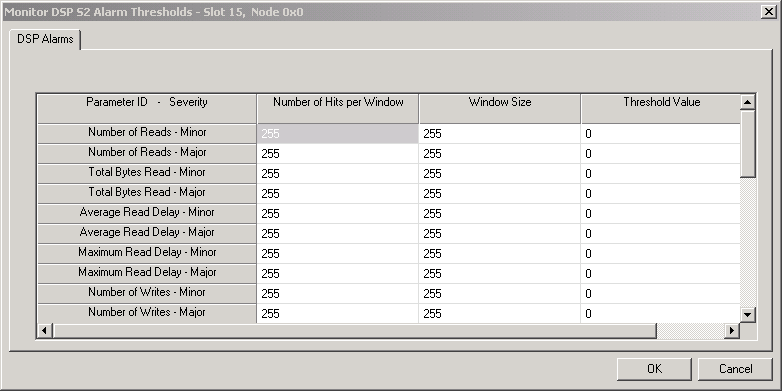
Viewing Alarm Thresholds on DSP S2 card
To view the alarm thresholds on a DSP S2 card, do the following:
Go to the node view, select Monitor Alarm Thresholds. The Monitor DSP S2 ... window opens. See the next screen shot.
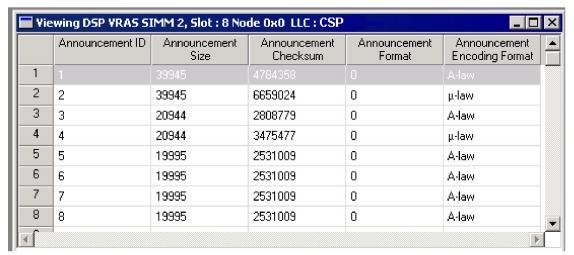
In the DSP VRAS card view you see the configured announcement ID, size, checksum, format and encoding format.
Querying the NFS Mount Status
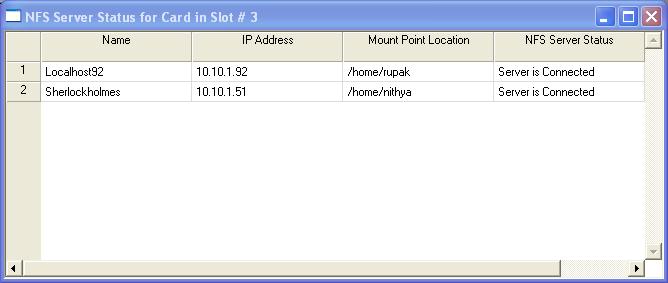
Right-click the DSP-S2 card and select the menu option, Query NFS Mount Status.
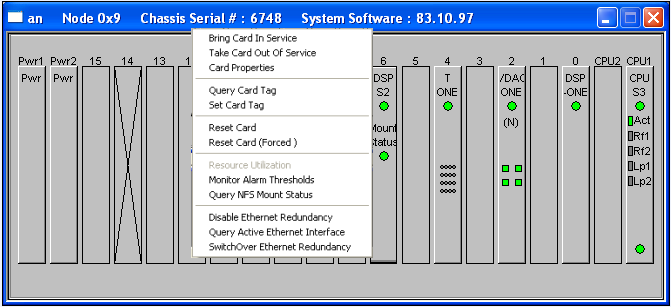
The node view will then show the mount status on the DSP S2 card as shown below:
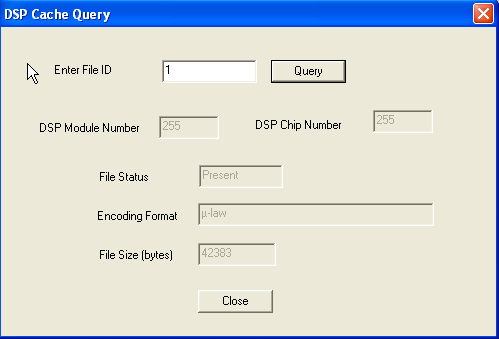
Querying DSP S2 Cache
Right-click the DSP-S2 card and select the menu option, Cache Query. Enter a File ID number (decimal or hexadecimal). After you click Query, the other fields in the dialog box become populated. In the next example dialog box, the file resides on the motherboard cache, so the CSP returns a value of 255 (decimal) or 0xff (hexadecimal). If the file resides on a DSP chip, then the dialog box will show the corresponding DSP Module Number and DSP Chip Number.
Querying Active Ethernet Interface
Right-click the DSP-S2 card and select the menu option, Query Active Ethernet Interface.
The node view will then confirm that Ethernet redundancy is enabled and no Ethernet links are available. This is indicated in the next message:
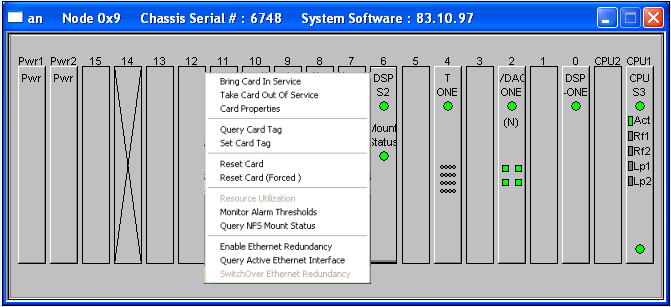
Enable/Disable Ethernet Redundancy
Right-click the DSP-S2 card and select the menu option, Enable Ethernet.
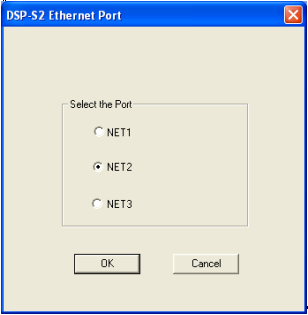
Select the port you want to use for Ethernet redundancy in the next dialog box and then click OK..
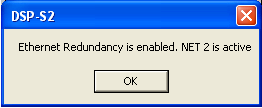
The node view will then confirm that Ethernet redundancy is enabled. This is indicated in the next message:
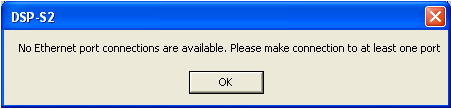
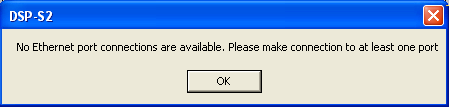
If you select a port that is not available, the next available port is automatically selected. If no ports are available the next message appears:
SwitchOver Ethernet Redundancy
Right-click the DSP-S2 card and select the menu option, SwitchOver Ethernet Redundancy.
Next, a warning message appears.
If you select Yes, then the next dialog box opens. Select the port for which the switchover is to be performed. Note that the current active port is disabled in the dialog box.

If you select the port and click OK, a message confirms ethernet redundancy is enabled on the port, indicating the switchover was successful.